


Nextiva Admin Portal: Uploading Greetings
For any questions regarding Nextiva, please contact PepperPointe IT
Nextiva Admin Portal Link
This guide will walk you through changing VM messages/greetings for business hours and after hours.
For other Nextiva-related issues, please refer to the Nextiva overview guide.
*NOTE* If you do not have a Nextiva Admin account, or forgot your password, you must contact PepperPointe IT.
Capturing/Converting your greeting
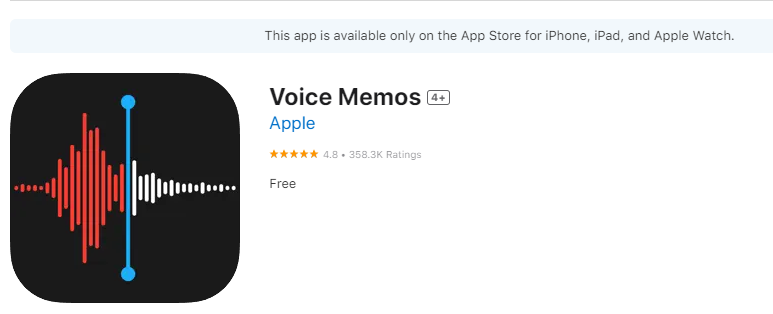
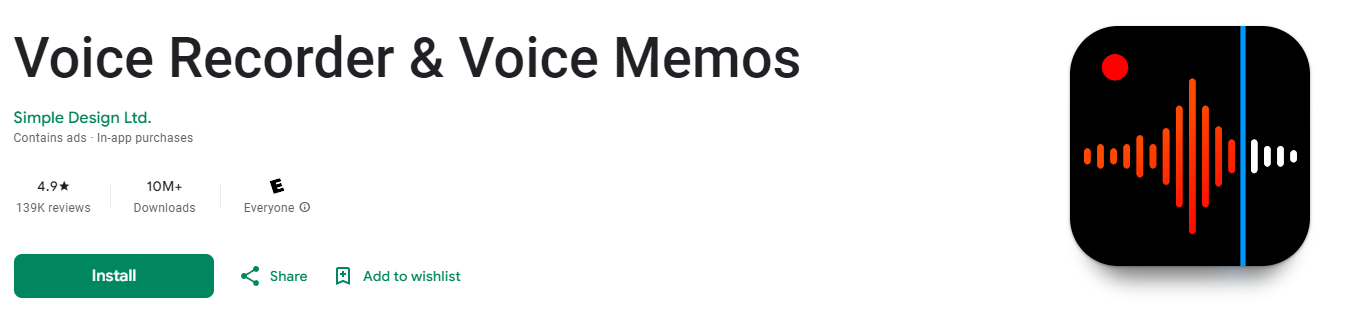
1. Start by recording your greeting using your phone.
You can use Voice Memos on iPhone or Voice Recorder on Android
2. Save the recording to your device and upload it into OneDrive or email it to yourself for access.
3. On your computer, navigate to the following website:
https://audio.online-convert.com/convert-to-wav
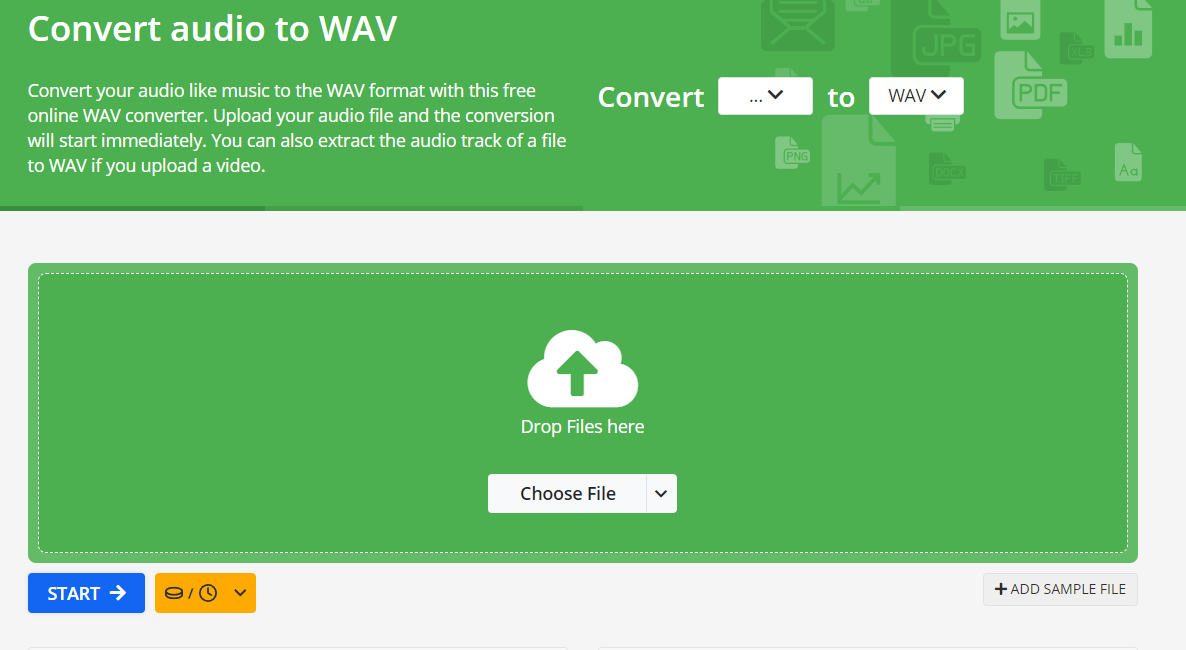
(it will look like this)
4. Drag and drop your audio recording or select "Choose File" to upload.
![]()
(example file name)
5. Match the following settings on the page
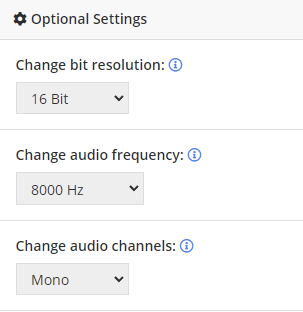
6. Then click the blue start button.
7. Once converted, select the blue download button.
8. Navigate to the Nextiva Admin Portal and login
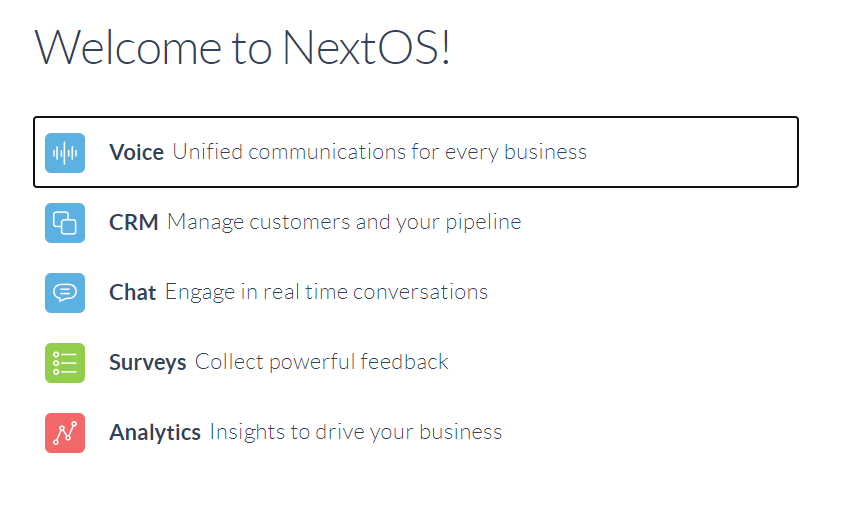
9. Once logged in, select "Voice"
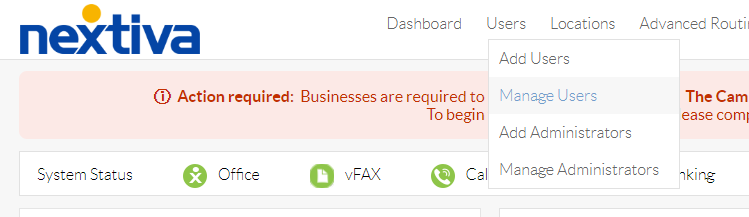
10. On the top bar, select Users > Manage Users
11. Select the user that handles either your business or after hours voicemail.
(Ex. Front Desk 1 - Business Hours VM, Front Desk 2 - After Hours VM)

12. Scroll down and select the "Greetings" dropdown menu
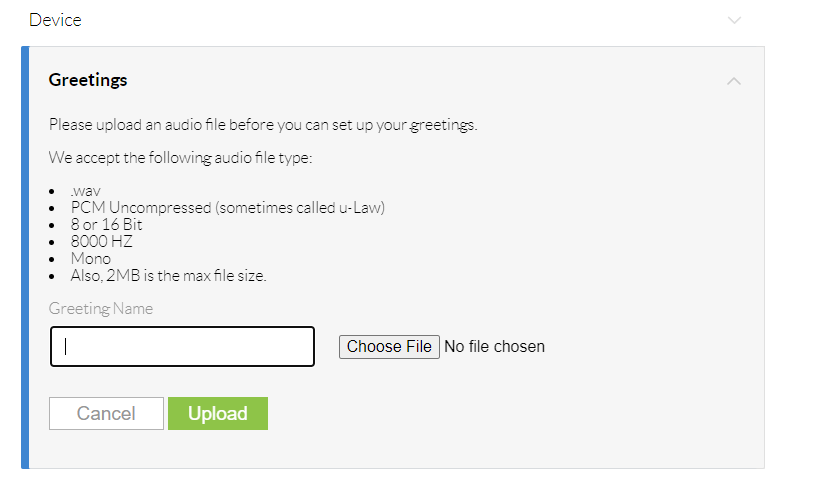
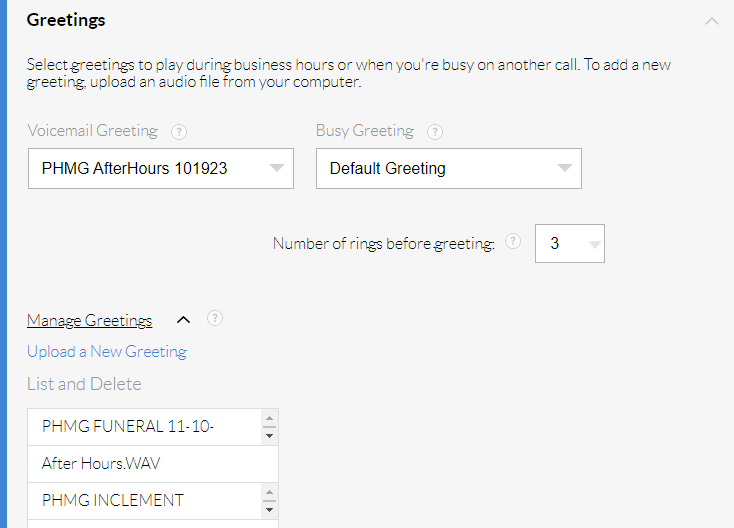
(you will see a page that looks like this.)
13. Upload your greeting and give it a name. If yours looks like the screenshot on the right, select "Upload a New Greeting"
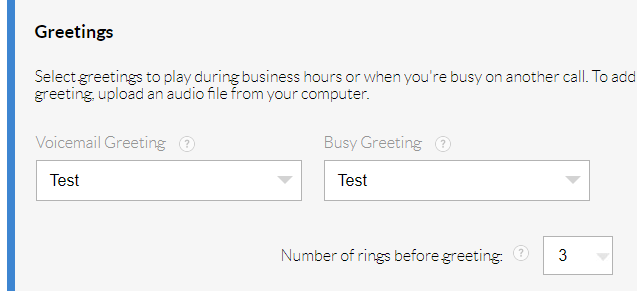
14. Set your VM to the new message by clicking both drop down menus for "Voicemail Greeting" & "Busy Greeting" and selecting your new message.
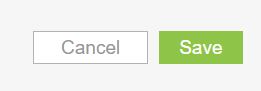
Be sure to click "Save" when complete
And that's it!

