


New Employee Systems Setup - IT Systems
When a new employee joins the team here at Pepperpointe, there are certain systems that they will need to be added into. This document provides a step-by-step guide on how to add the new employee into each of these systems.
Happyfox - help.pepperpointe.com
-
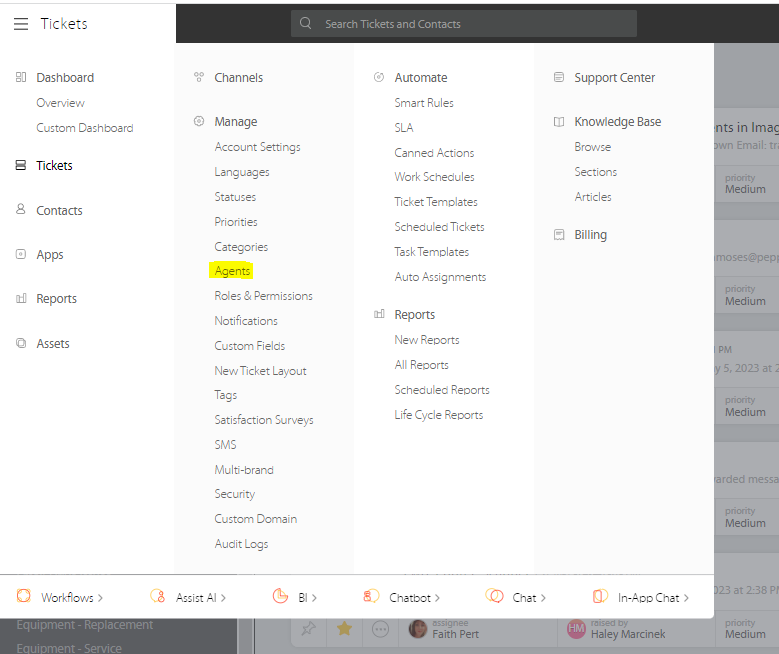
From the upper left hand corner of your dashboard, hover over the drop down menu that says “tickets”. You will locate the option under Manage that says Agents and click on that.
-
Once into agents, you will click on + Add to add the new employee.

-
You must have an open agent available before you will be able to create the new user.
-
When you click on +Add you will select Single Agent.
-
This will open another window to the side of the screen that you will use to fill in the user’s information.

-
Under the drop down menu that says Role, you will need to choose whether this individual will be an Administrator or an Agent.
-
Before adding the user, be sure to select all the categories that this individual will need access to. Any categories that are not chosen will not show up on the dashboard for this user.
-
Once all the information is completed, select Add Agent. This will send the new user an email to accept the invitation and to create their account with happyfox.
Ninja - NinjaOne
-
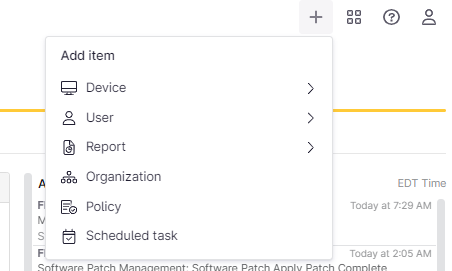
From your Ninja dashboard, click on the + in the upper right hand corner.
-
From this menu, you will click on User and select Technician.

-
This will load into a new window where you will input the following information:
-
General
-
First Name
-
Last Name
-
Email Address
-
Phone Number
-
Security
-
Single Sign-On
-
-
-
Roles
-
Add Role - System Administrator
-
-
-
Once all the information is populated, you will click Save Changes in the right corner.
Intune - Microsoft Intune Admin Center
-
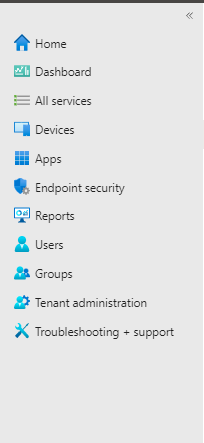
Once you login to your admin account, you will locate Users from the menu on the left side of the screen and click into that.
-
To add a new user, you will click on + New User at the top of this screen and select Create New User.

-
Fill out this following information:
-
User principal name (email address)
-
Display Name
-
Password (You can auto generate this)
-
Assignments - Add Groups
-
All Users (group type: security)
-
Intune_pilot (group type: security)
-
PepperPointe IT (group type: Microsoft 365)
-
Pepeprpointe.com (group type: Microsoft 365)
-
Pepperpointe_org (group type: security)
-
Pepperpointe IT (group type: security)
-
-
-
Once this information is added, you can select Review + create at the bottom to create the user.
Nextiva Admin - Nextiva Login
-
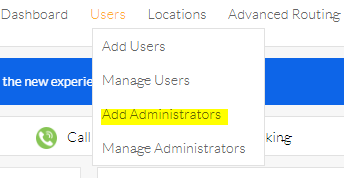
To add an administrator to our Nextiva account, you will hover over Users at the top of the screen and select Add Administrators.
-
From the next screen you will enter the following information:
-
First Name
-
Last Name
-
Email Address
-
Username
-
Location - Select All
-
PIN
-
Check the box for Can assign other administrators.
-
Select the correct time zone.
-
-
Once this information is populated, click Finish to save the user.
-
They will then receive an email with their temporary password. When they login with that password it will prompt them to change their password and PIN.
UISP - UISP Network (Only superadmins can add other users)
-
From your dashboard, you will click on the gear icon on the left side of the screen and then click on Users.

-
At the top of the list of users is a button that says Invite User. Click that.

-
You will enter the following information:
-
Email
-
Username
-
Is this user going to be a super admin? If so, turn on the switch to enable that.
-
No access to CRM
-
-
Once this information is populated, click Invite to send the user an email to set up their account.
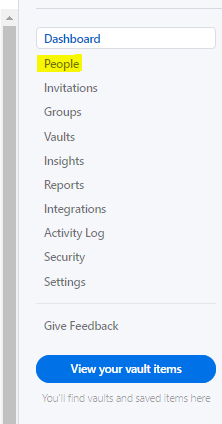
1password - 1Password Login (Only admins can add other users)
-
From your dashboard, you will click on People in the menu to the right.
-
Then you will click on Invite People.

-
You will enter the user’s email address, select their status, and then select Invite.
-
This will send the user an email address to finish setting up their account.
Active Directory - Microsoft 365 Admin Center
-
Once you are logged in, on the left hand side of the screen there is a menu. From this menu, you will select Users and then Active Users.

-
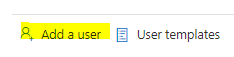
Then you will select Add a User.
-
From here, you will complete the following information:
-
First Name
-
Last Name
-
Display name will populate itself after entering first and last name
-
Username (this will be the first of the user’s email address)
-
You can either leave the check box checked for Automatically create a password to have one generated for you or uncheck it to create one yourself.
-
Check the box for Require this user to change their password
-
-
Once this information is completed, select Next.
-
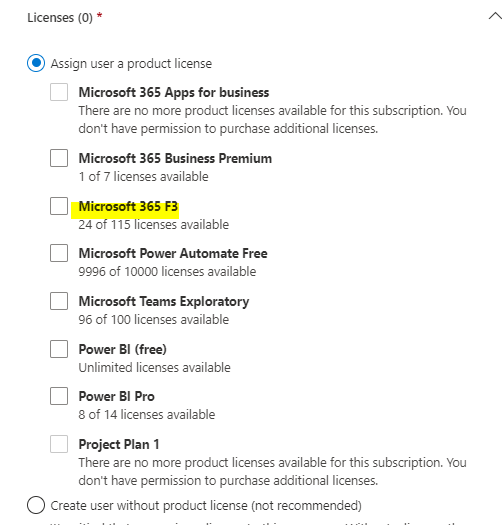
On this page you will select the license type that this user will need. This will most likely be Microsoft 365 F3.
-
Select that option and click Next to get to optional settings.
-
You will not need to do anything on this page.
-
Click next.
-
On this page verify that all the information is correct and if it is click on Finish Adding to save the user.

