
There may be instances where you will need to update a current Sidexis configuration to either point to a new server, or the same server that was renamed.
If this is the case, follow the steps below.
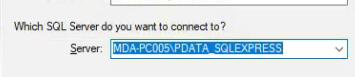
1. Open ODBC Data Sources (32-bit)

2. Select the "System DSN" tab at the top
![]()
3. Highlight "PDATA_SQLEXPRESS" and click "Configure"

4. Leave everything as it was except the bottom portion.
Update the computer name with the correct computer name
 S
S

5. Click "Next" and not "Finish"
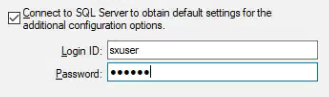
6. For the Login ID and password, use the following credentials.
Login ID: sxuser
Password: sirona
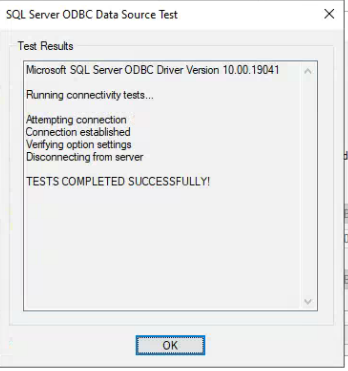
7. Click "Next" until you get to the test popup.
Click "Test Data Source" to verify it can connect

8. Click "Ok" until ODBC closes.
9. Open the "SIDEXIS" desktop application.

10. Under "Utilities" select "Configure system"
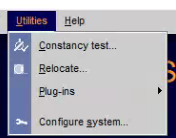
11. Select "Service..." at the bottom of the list

12. Under the "Database" portion, select "Multistation"
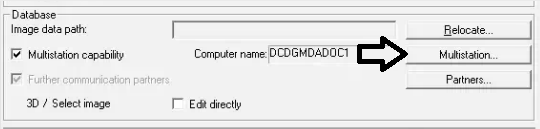
13. In the "Mailbox file" text field, update the computer name as the same set in Step 4.


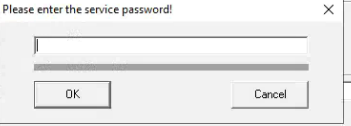
14. For the service password, enter todays date backwards.
Example: 8/14/2023: 8041
15. Click "OK" on every pop up and exit SIDEXIS.
16. Open "SIDEXIS Manager"

17. Open "NGStationMgr"
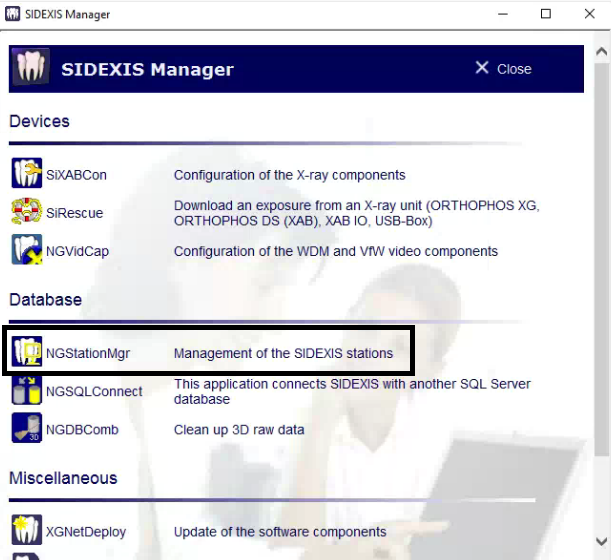
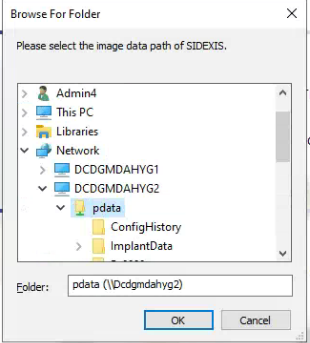
*It should give you an error message saying the device you're currently connected to isn't on the master list of workstations. Click Continue and it should ask you to browse to the SIDEXIS installation.*
18. Navigate to the PDATA directory on the host computer for SIDEXIS and click "OK"
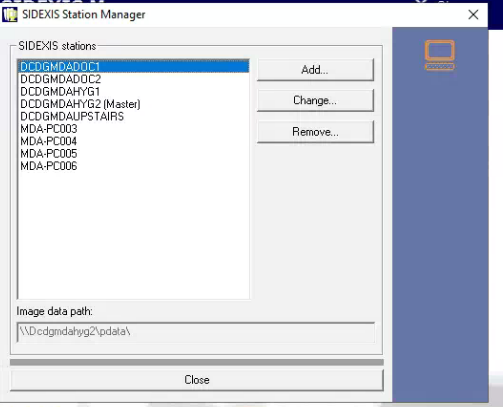
19.. It should pull up the list of SIDEXIS stations with the newly added machine. If it wasn't automatically added, you will need to manually add it.
Click "Close"
20. Open "SiXABCon"
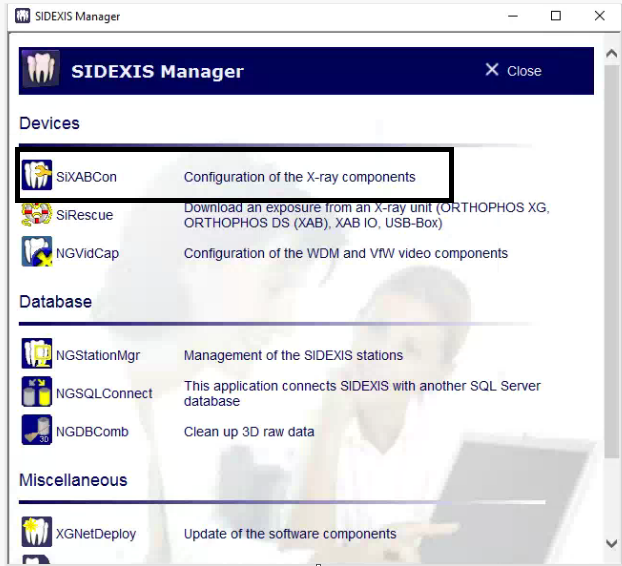
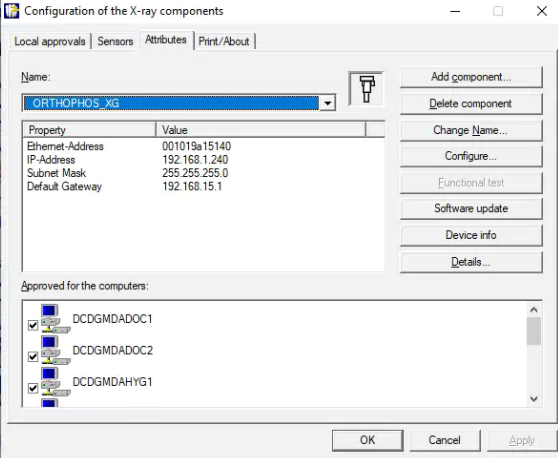
21. Tick the check box next to the Xray unit and click "Apply"
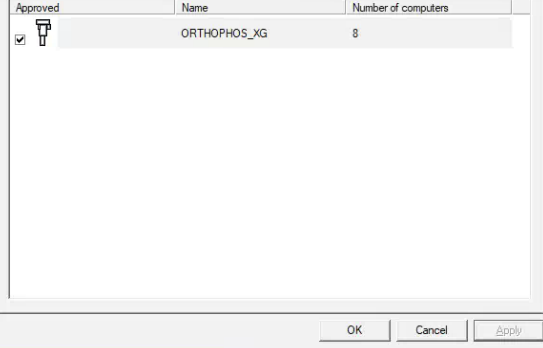
22. You can verify the machine was added by clicking the "Attributes" tab and looking through the list of approved computers.