


Nextiva Admin Portal: Schedules
For any questions regarding Nextiva, please contact PepperPointe IT
Nextiva Admin Portal Link
This guide will walk you through the setup of adjusting your weekly schedule and also adding dates to your "Closed" schedule within your Nextiva Admin Portal.
For other Nextiva-related issues, please refer to the Nextiva overview guide.
*NOTE* If you do not have a Nextiva Admin account, or forgot your password, you must contact PepperPointe IT.
Table of Contents
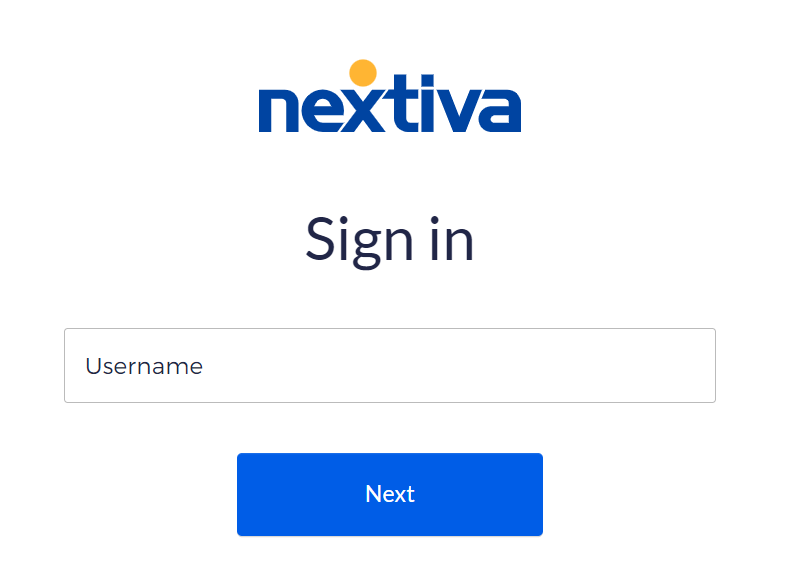
1. Navigate to the Nextiva login page and sign in using your credentials.
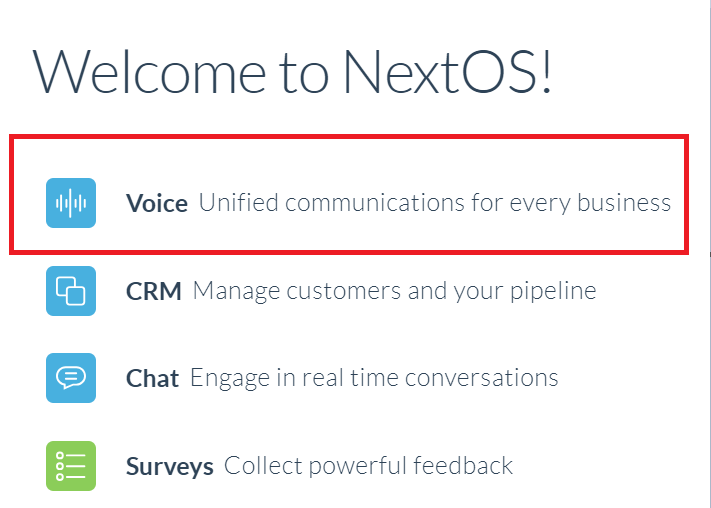
2. Select "Voice" on the welcome screen
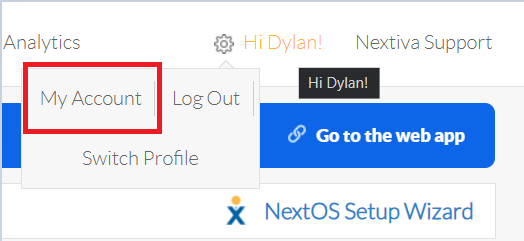
3. Hover over the "gear icon" ![]() in the top right and select "My Account"
in the top right and select "My Account"
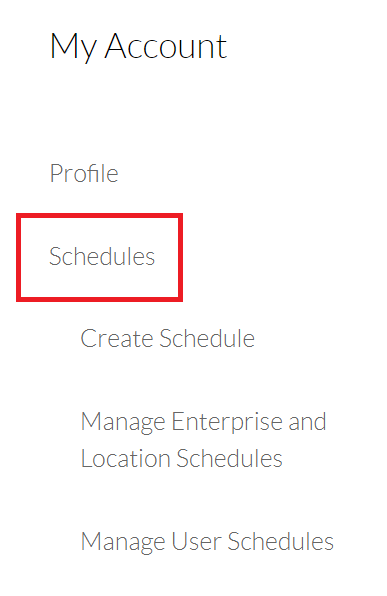
4. On the left sidebar, select "Schedules"
5. In the "Select Location" dropdown box, enter your practice name and click it.

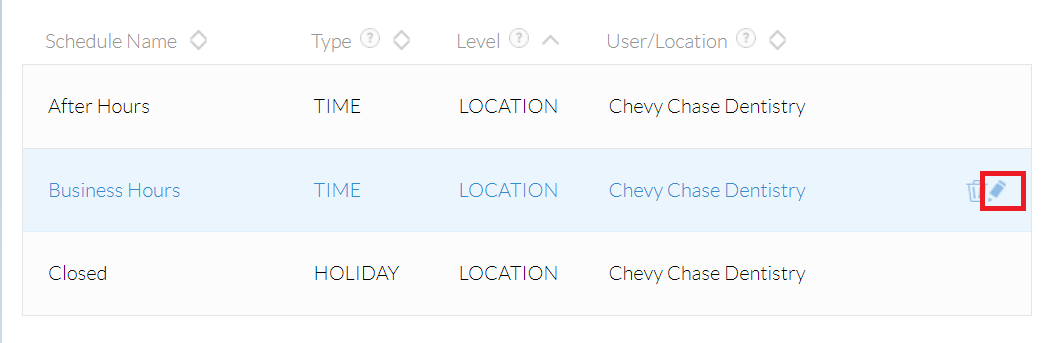
6. Start by editing the "Business Hours" schedule by hovering over it and clicking the pencil icon
*NOTE* The "After Hours" schedule must also be changed to reflect the same changes made in the "Business Hours" schedule
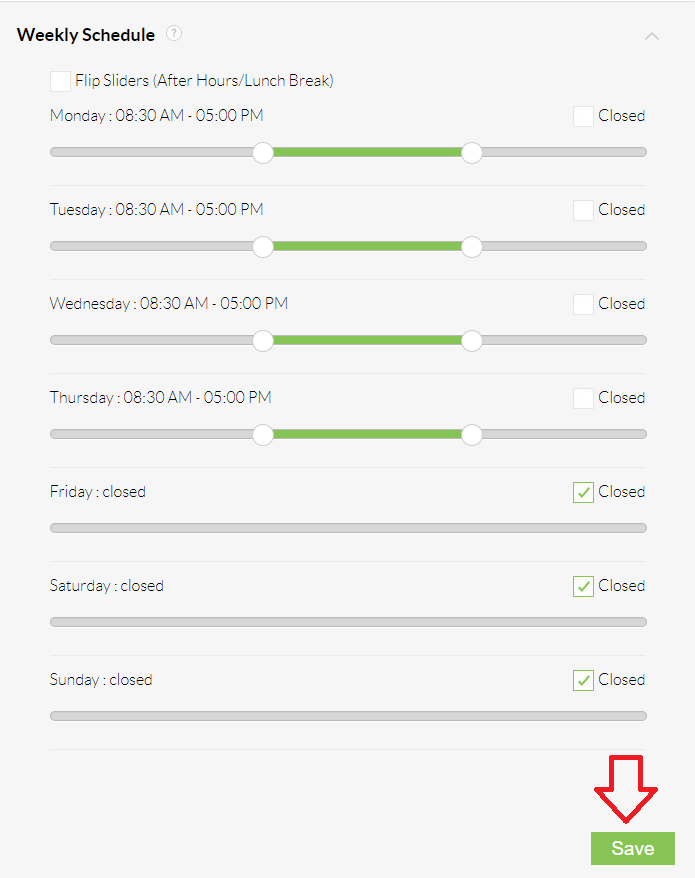
7. Click the "down arrow" next to "Weekly Schedule"

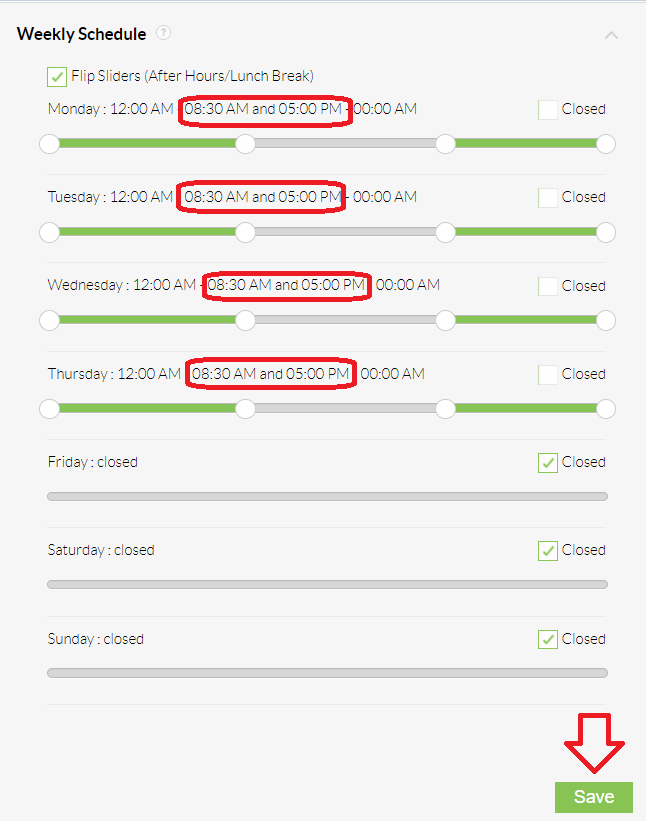
8. Set your business hours accordingly using the slider.
Click "Save" when finished
(Ex. M-Th 8:30AM-5:00PM, F-Sun Closed)
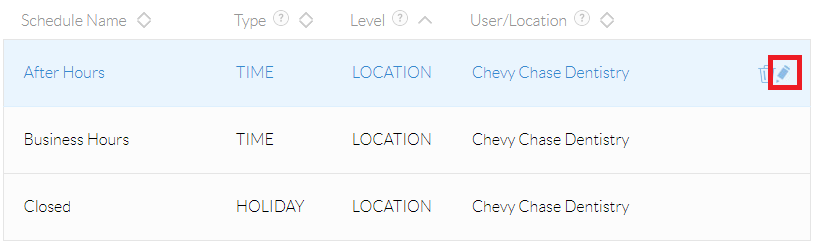
9. Scroll up and click "< Back" to go back and edit the "After Hours" schedule

10. Finally, hover over the "After Hours" schedule and click the pencil icon
11. Click the "down arrow" next to "Weekly Schedule"
12. Set your business hours accordingly using the slider.
*NOTE* Clicking "Flip Sliders" will reset any configuration made. If you look at the 2nd time on the first range, and the 1st time on the second range, you can easily see how it is set.
Click "Save" when finished
1. Navigate to the Nextiva login page and sign in using your credentials.
2. Select "Voice" on the welcome screen
3. Hover over the "gear icon" ![]() in the top right and select "My Account"
in the top right and select "My Account"
4. On the left sidebar, select "Schedules"
5. In the "Select Location" dropdown box, enter your practice name and click it.
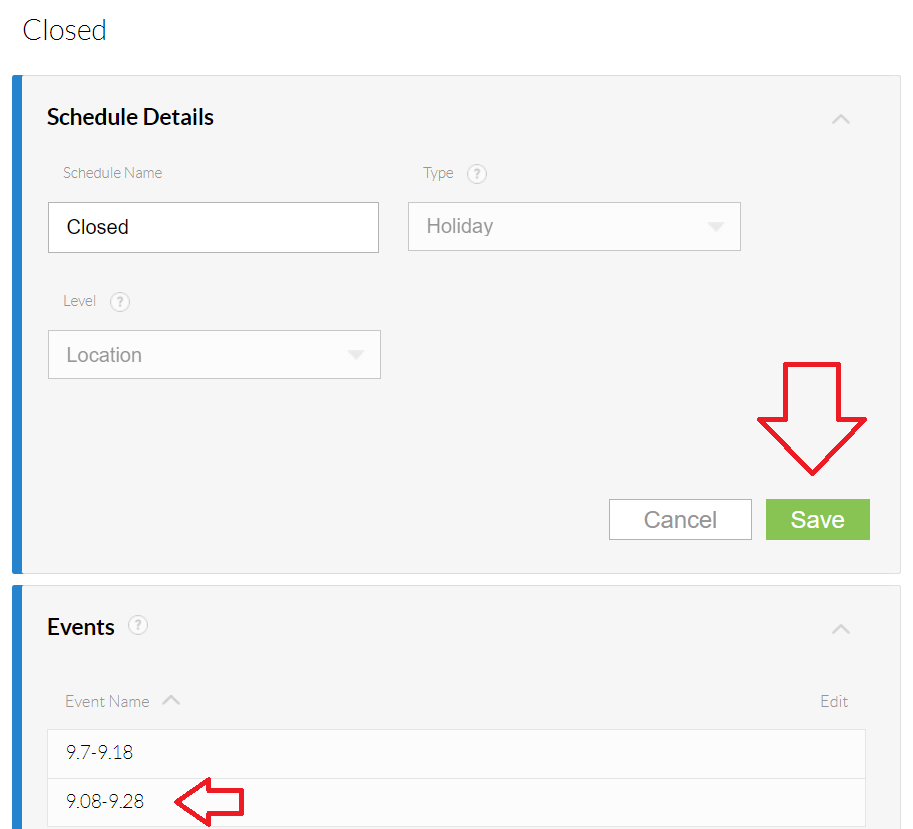
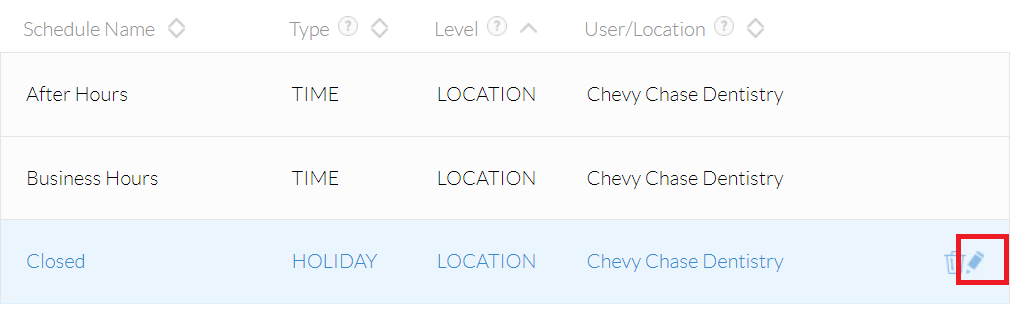
6. Hover over the "Closed" schedule and click the pencil on the far right.
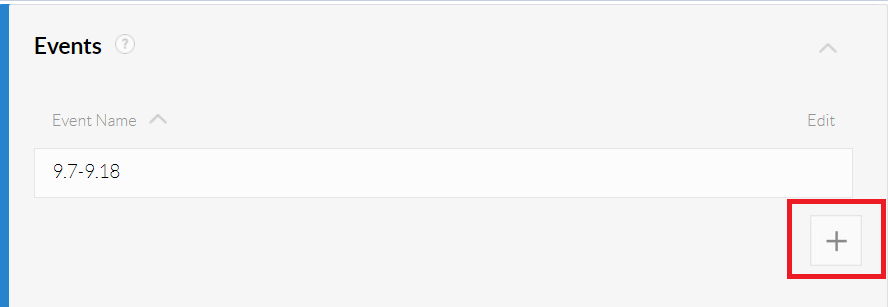
7. Click the "down arrow" next to Events

8. Click the "Plus +" to add an event
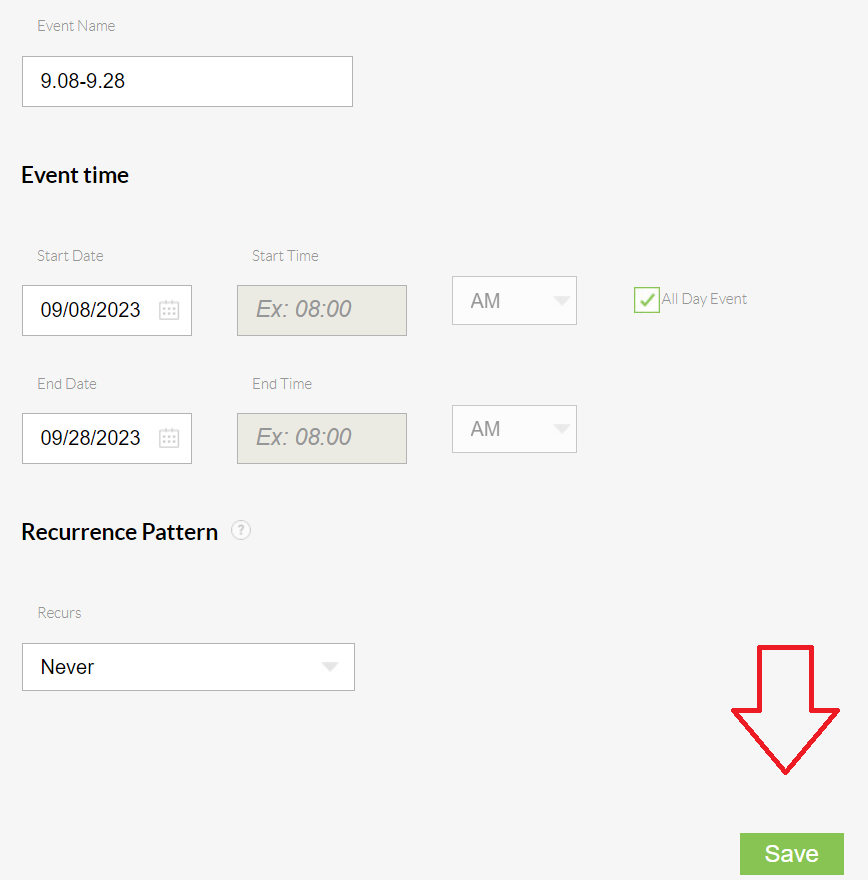
9. Enter the start and end date of when you would like the phones to be off.
Select the "All Day Event" checkbox if the office is closed all day.
Click "Save" when finished
(Ex. Fri. Sep 8th, - Thurs. Sep 28th)
10. You should see the event now populated.
Click "Save" one final time on the "Schedule Details" pane